


Keep the camera setup consistent
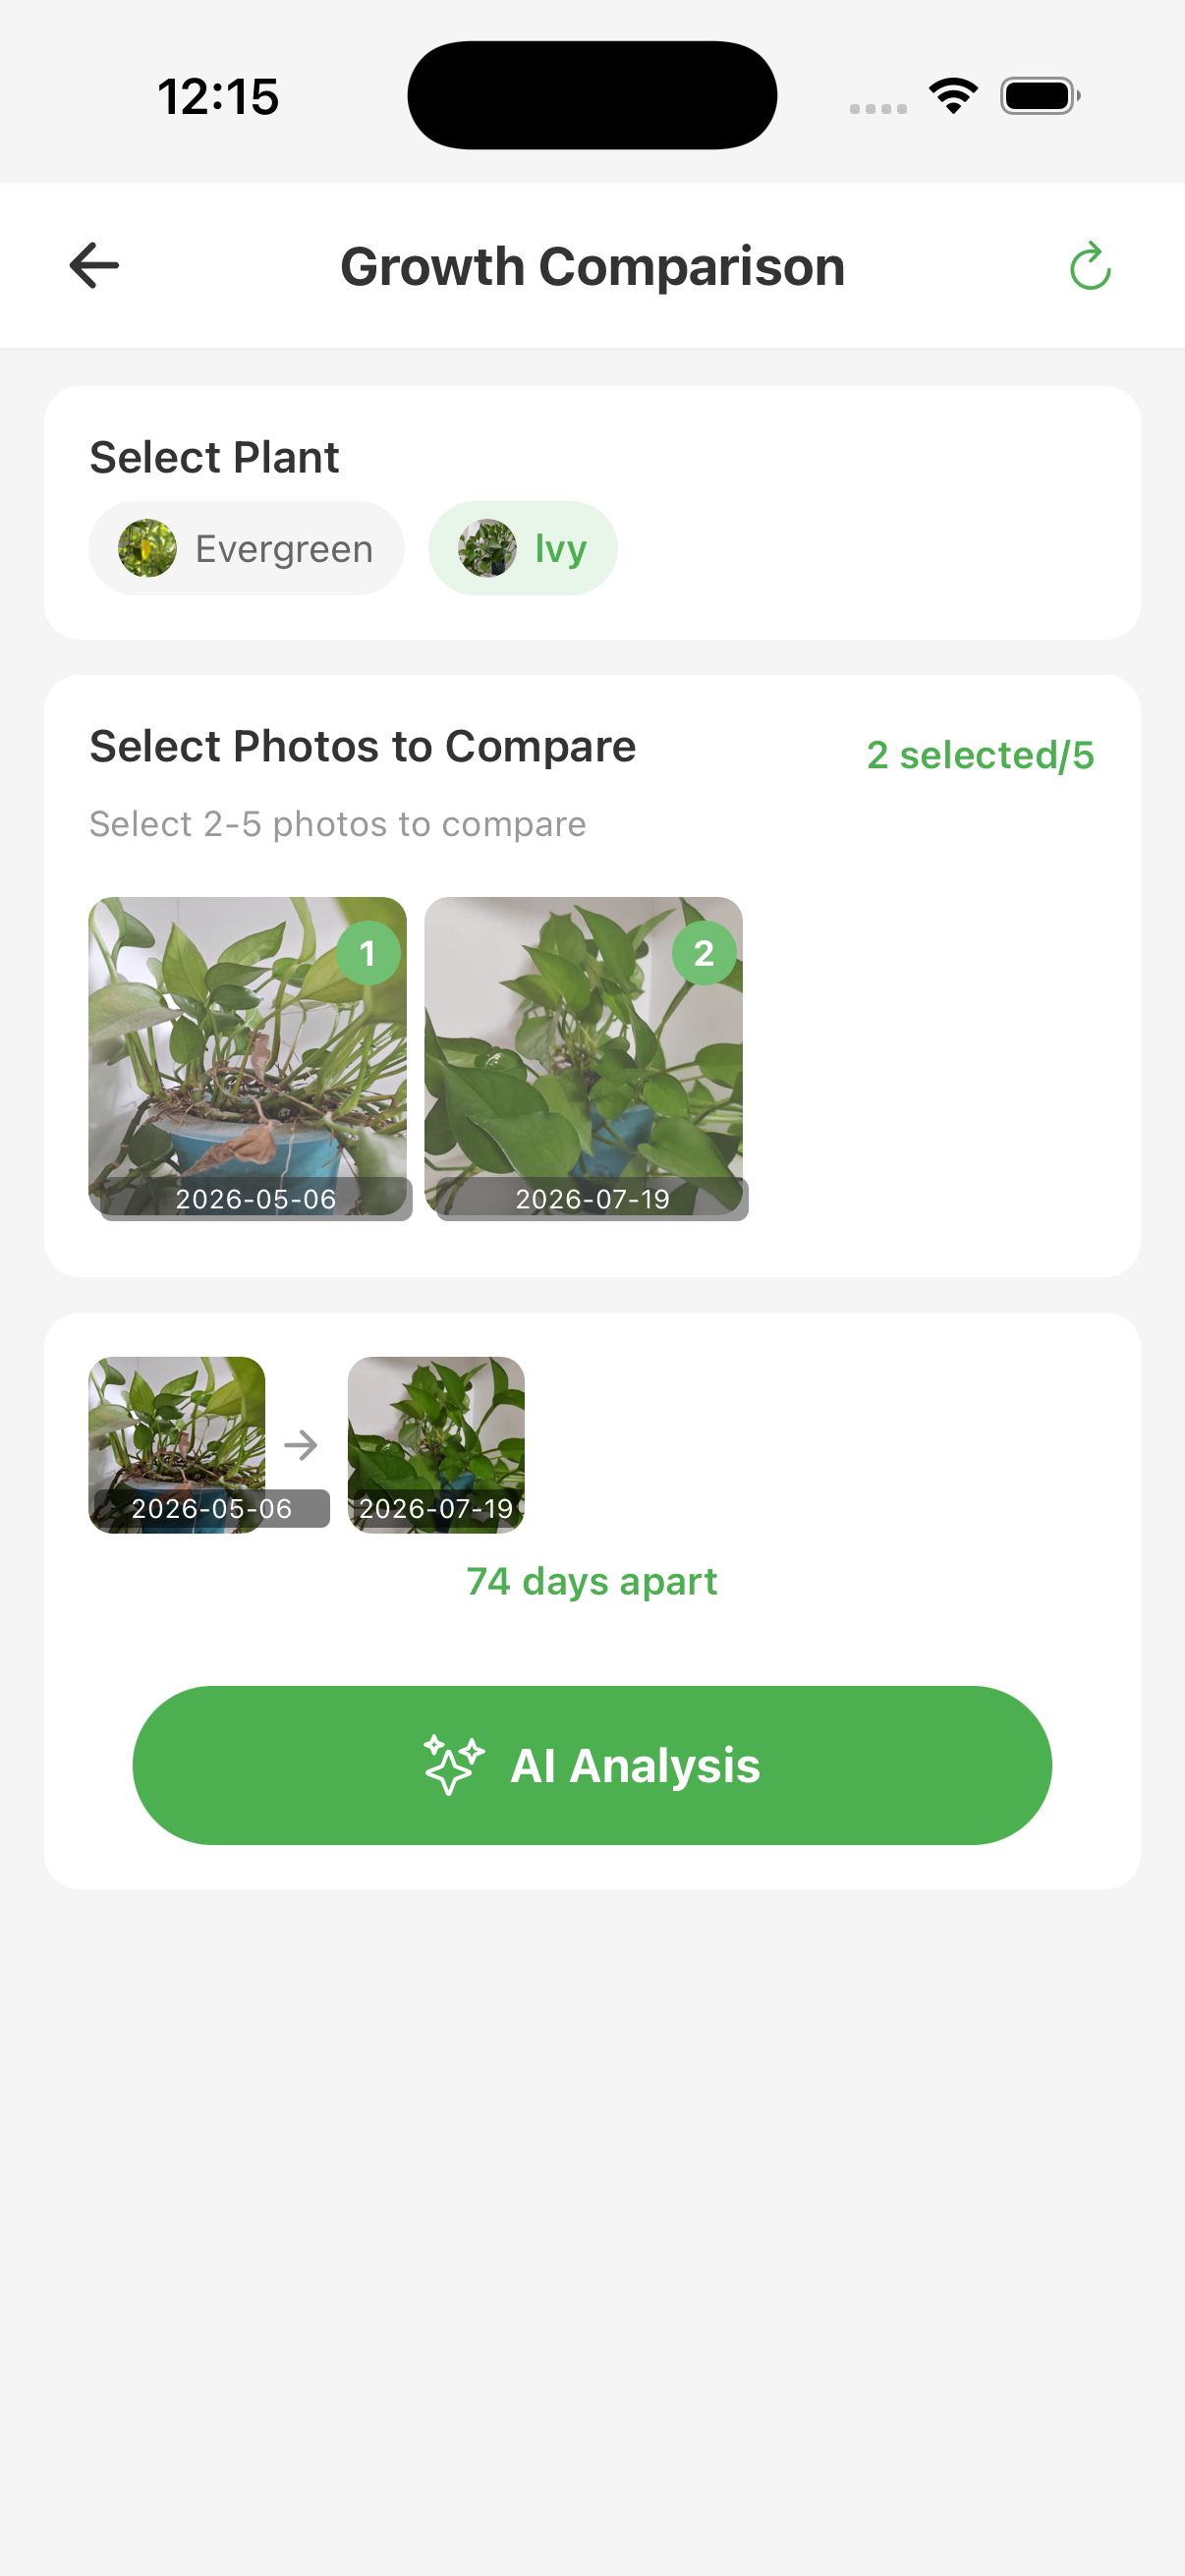
A useful comparison begins before the photo is taken. Mark the pot position and camera position, use the same orientation and distance, and include a stable reference such as the pot rim or a ruler when size matters.
- Use the same side of the plant and similar framing.
- Photograph in similar light without beauty filters or digital zoom.
- Avoid comparing a freshly watered upright plant with a dry, temporarily drooping one.
Choose an interval that can show change
Match the interval to the question. Use closer observations for a fast-developing symptom, and wider spacing for slow structural growth. A meaningful before-and-after event—such as moving, repotting, pruning, treatment, or a new leaf—is often more informative than an arbitrary date.
Compare more than height
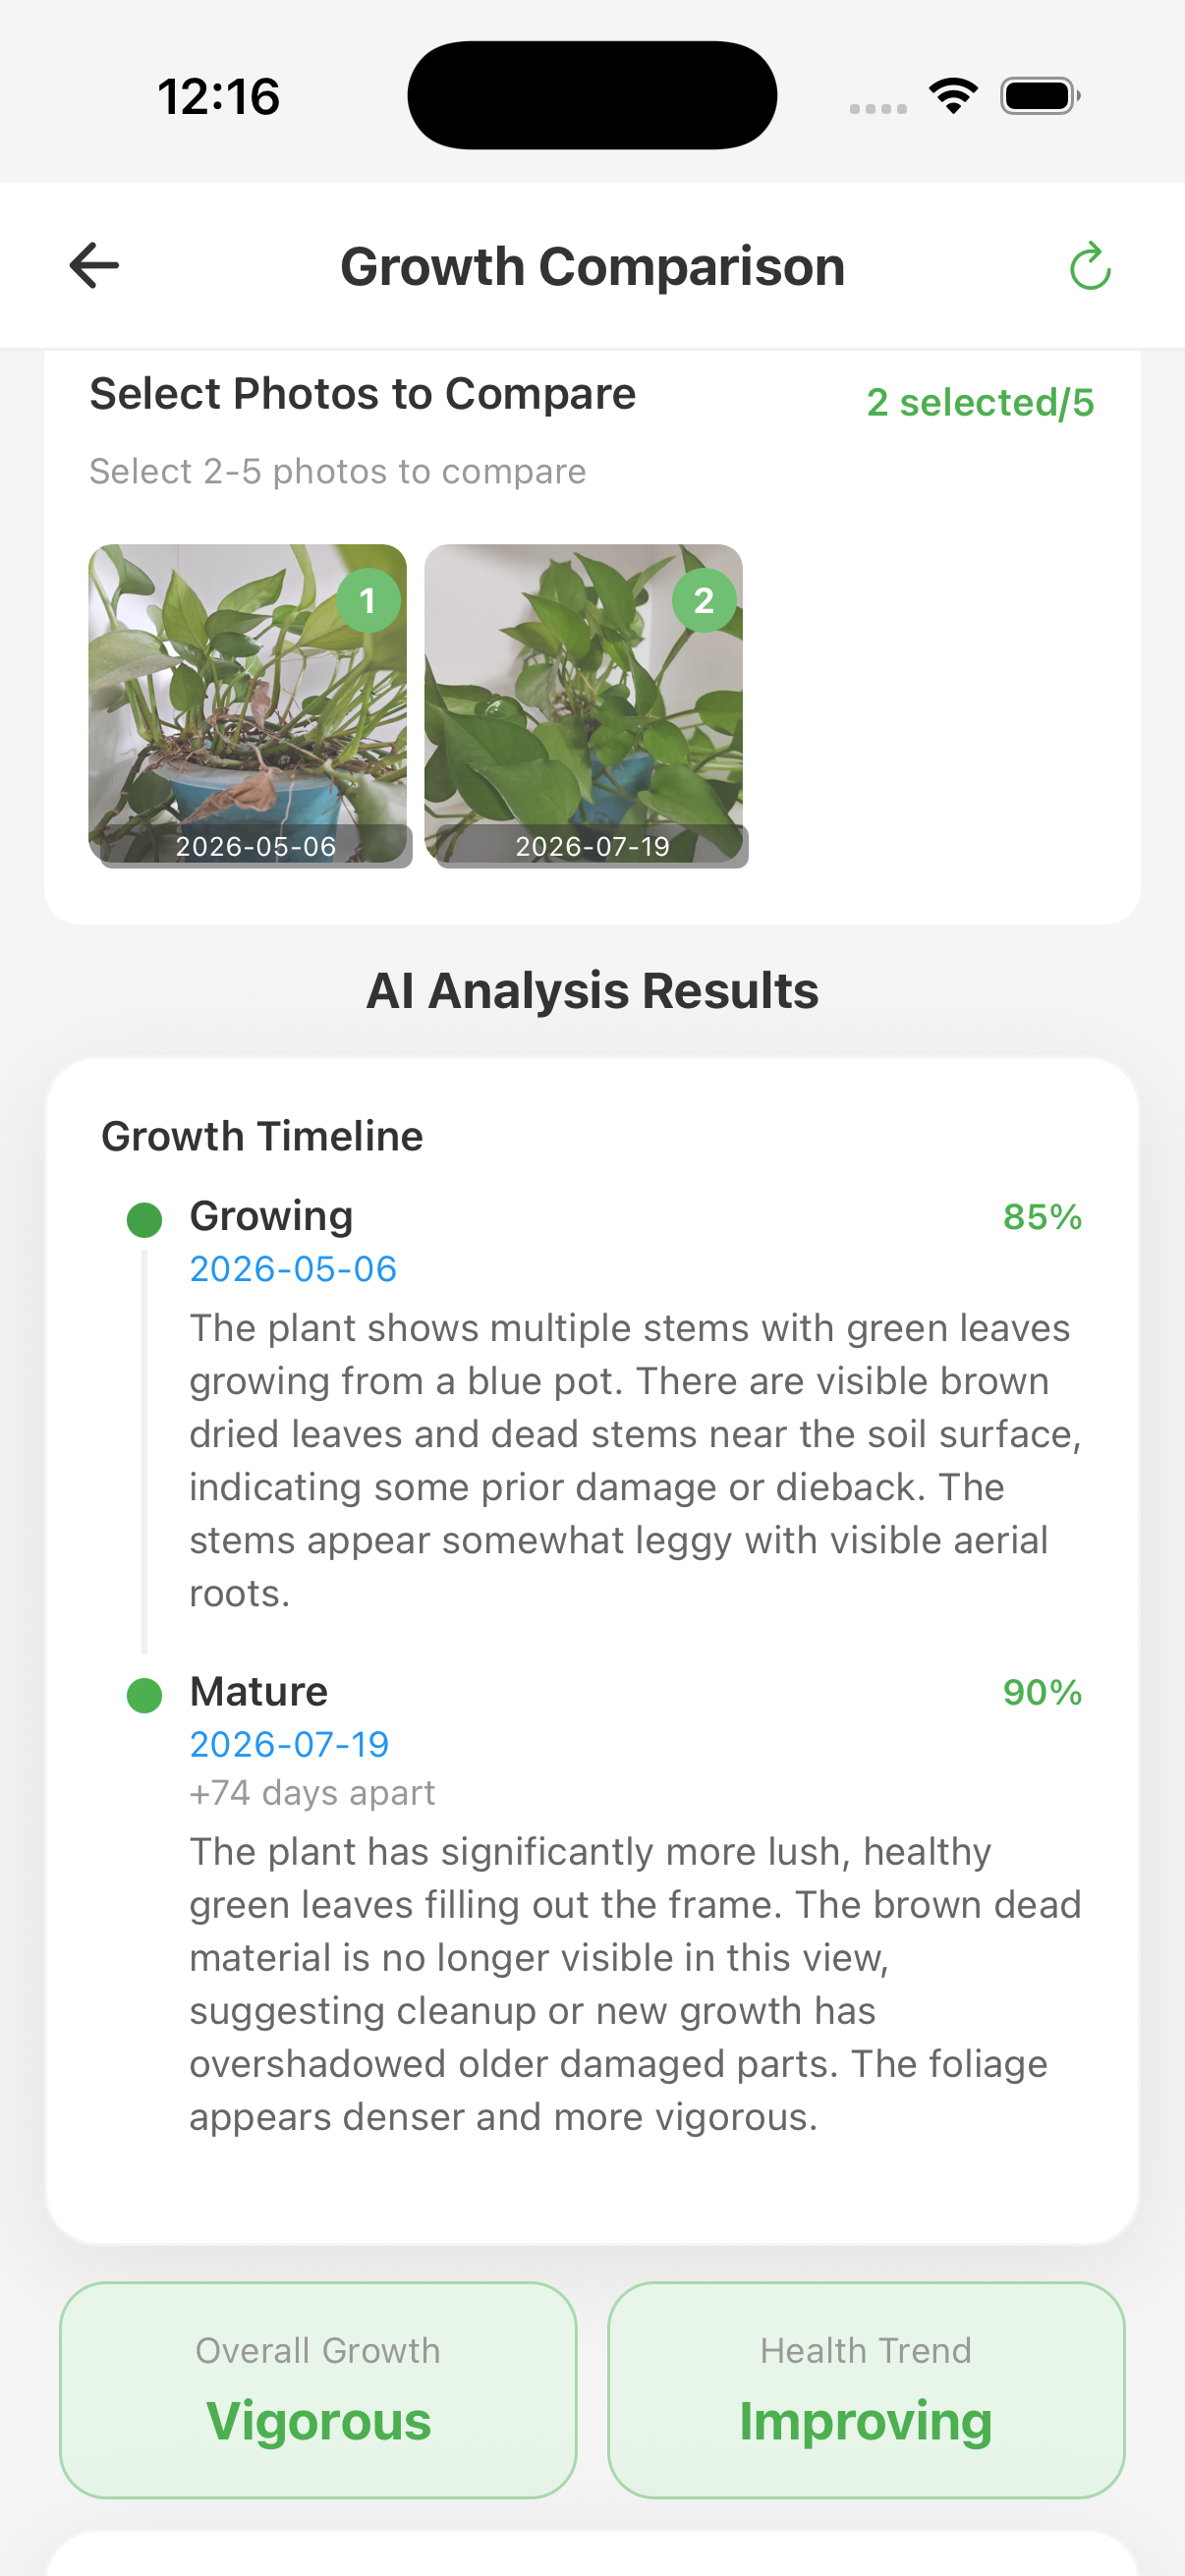
Look at leaf count, leaf size, spacing between nodes, orientation toward light, color, posture, canopy density, damage boundaries, and whether new growth is normal. Height alone can increase through stretching in insufficient light.
Connect the photos to care history
Review what happened between the two images: watering, feeding, relocation, temperature change, repotting, pruning, pest treatment, and new symptoms. The photo shows what changed; the timeline helps explain when and under which conditions it changed.
Avoid overinterpreting one comparison
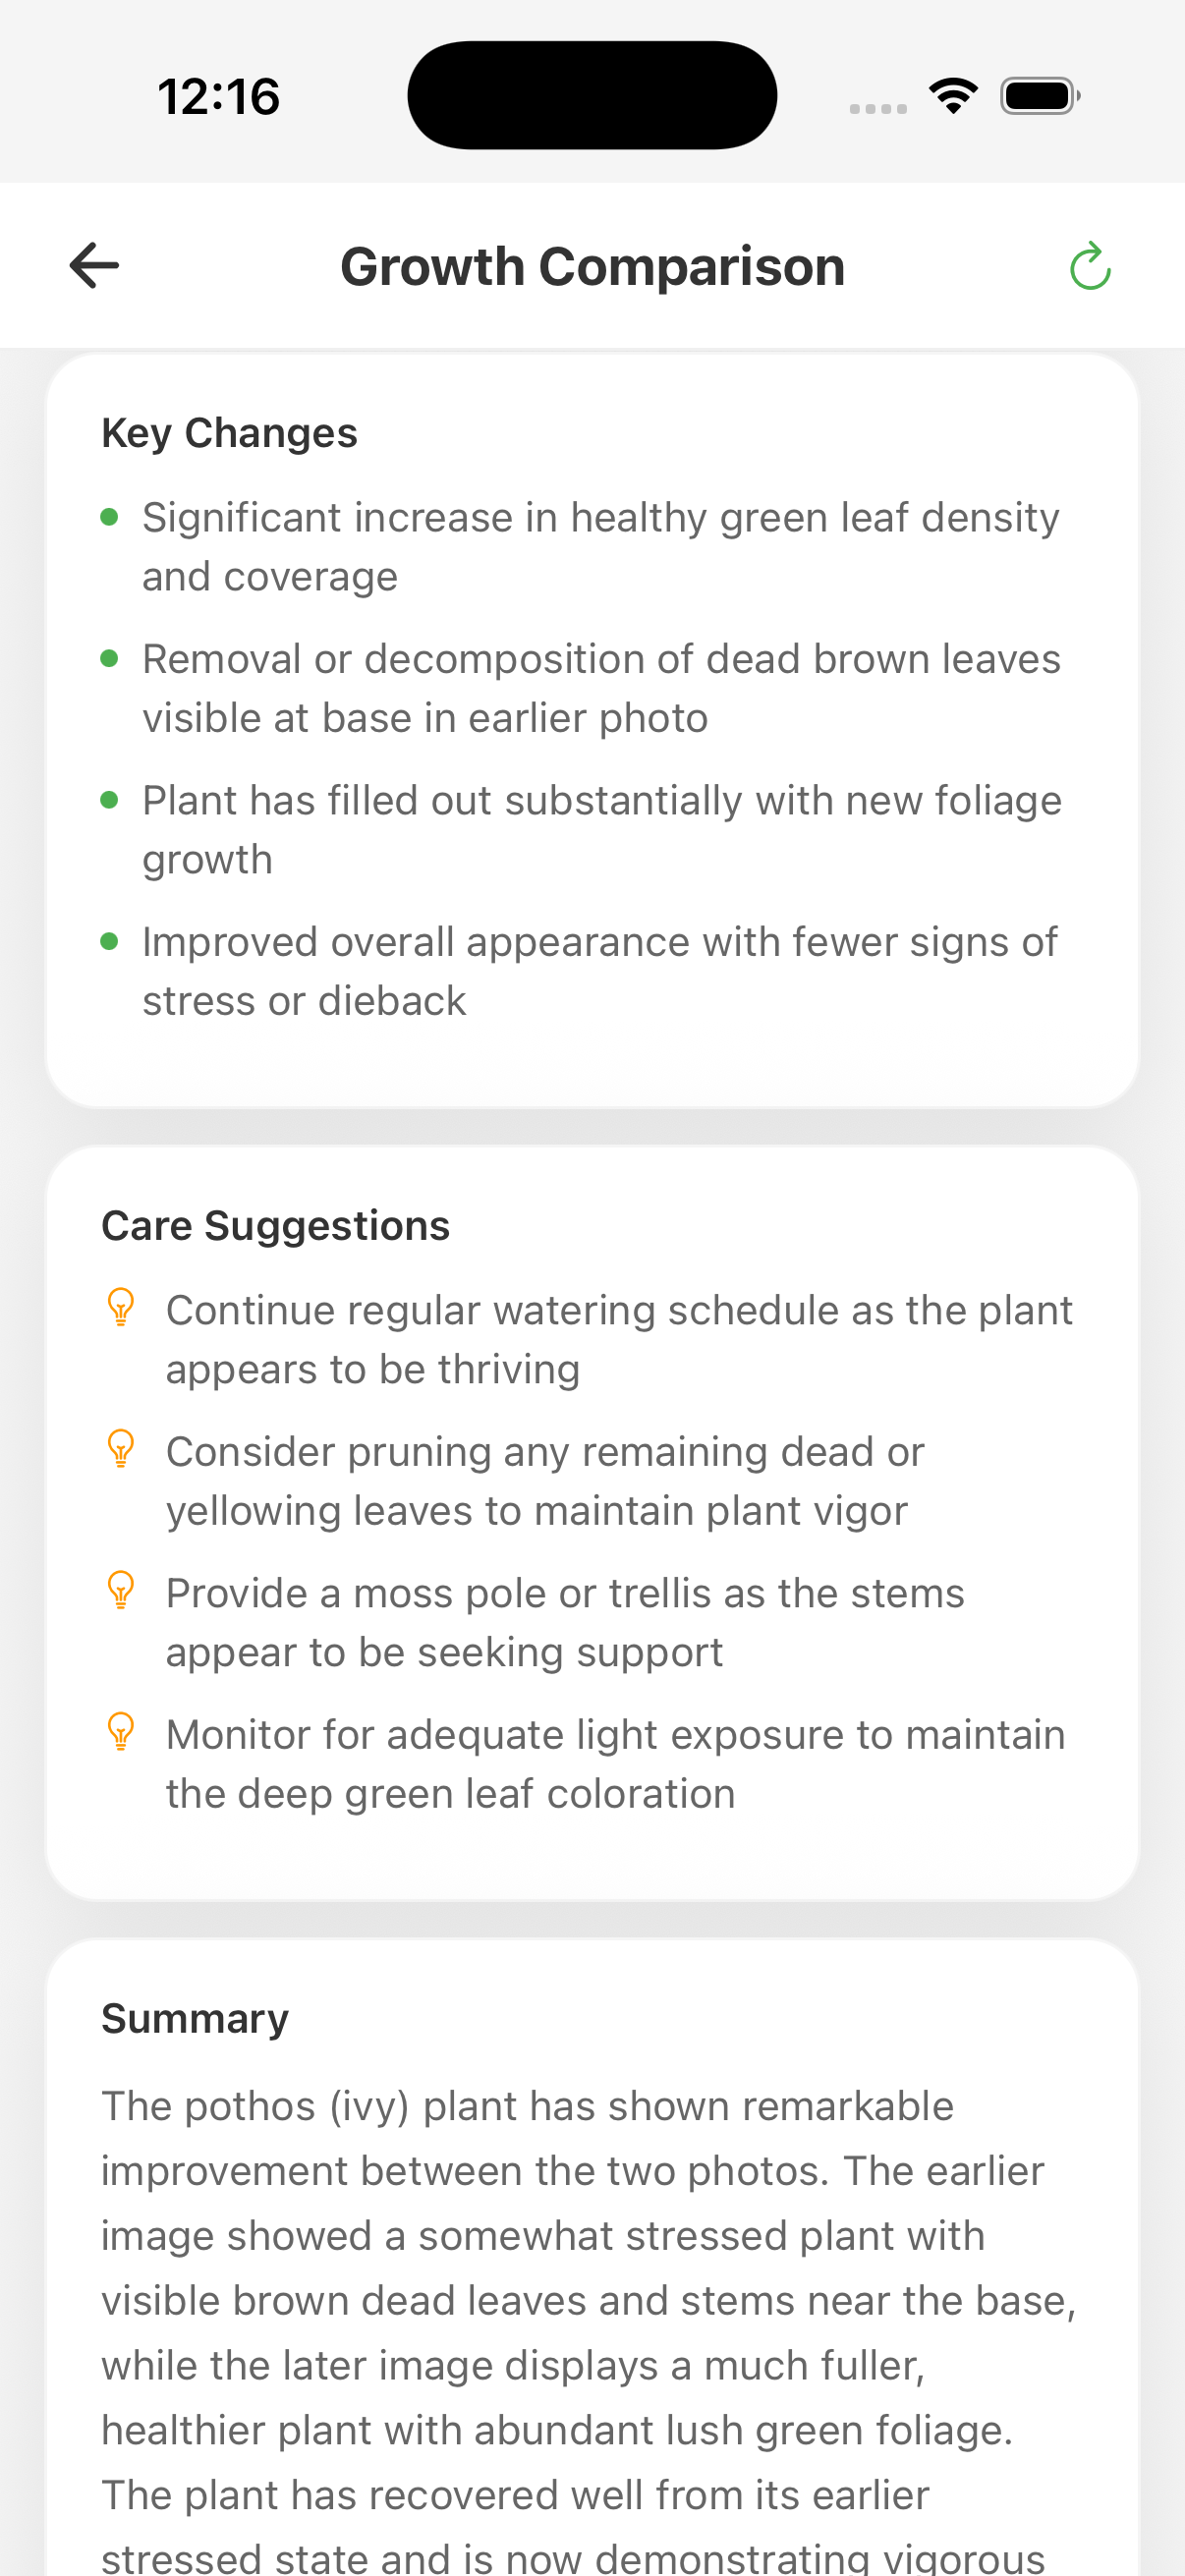
Perspective, leaf movement, temporary water status, and seasonal orientation can imitate growth or decline. Repeat the same setup and look for a consistent pattern before attributing the change to one care action.
Turn the result into the next observation
Choose one visible signal to follow—such as a new leaf, an advancing brown edge, or restored posture—and set the next comparison around it. FoliagePal keeps the two photos and care history together so you can review the evidence without relying on memory.