
Overview
Early Detection, Early Action — A Full-Scope Inspection Method from Leaf Undersides to Stems
This article introduces a simple and practical weekly plant inspection routine to help you detect pest problems before they escalate. By systematically checking leaf undersides, new growth, soil surfaces, and stems, you can protect plant health at minimal cost and avoid expensive treatments or plant loss.
Why Build a Weekly Inspection Habit
Indoor plant pest problems often go unnoticed until the plant shows obvious wilting, yellowing, or leaf damage. By this point, pest populations may have繁殖到难以控制的地步,and treatment costs rise significantly or the plant becomes unsalvageable. Establishing a weekly inspection routine lets you catch pests during early stages, when simple physical methods or minimal treatment can solve the problem—saving money and protecting your plants.
Step One: Check Leaf Undersides
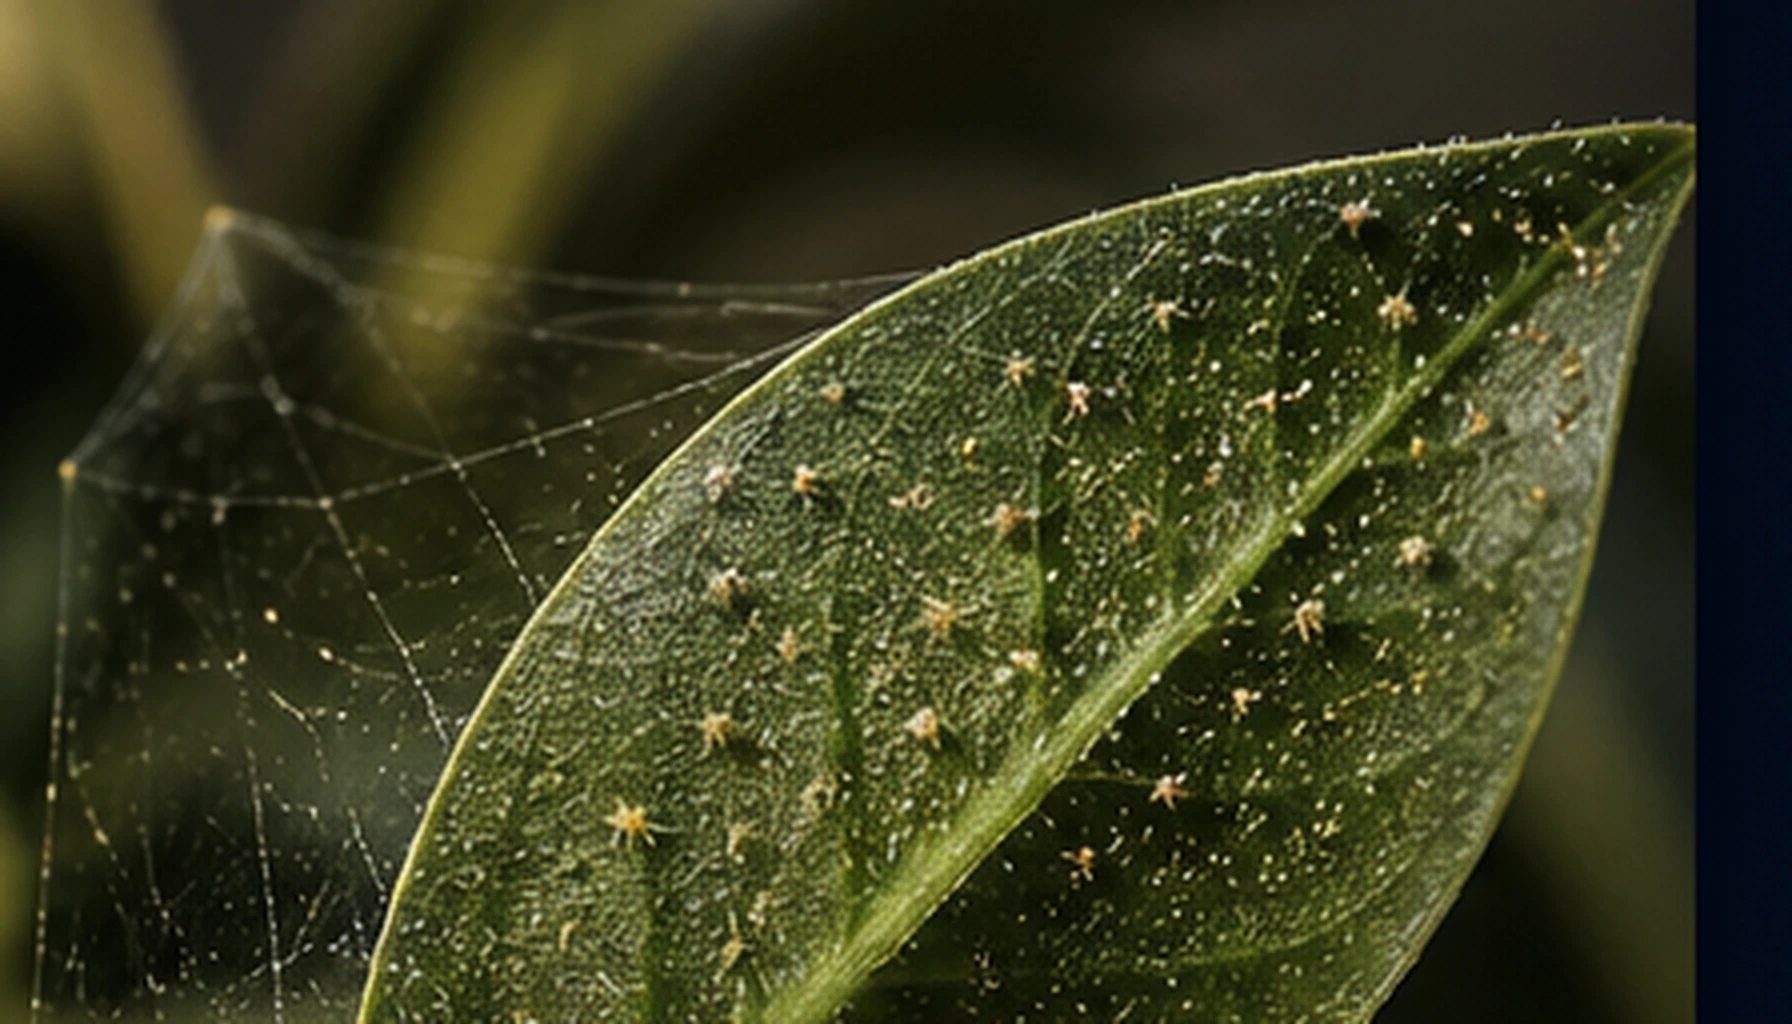
This is the most critical and most overlooked inspection area. Most pests like spider mites, aphids, and mealybugs prefer the undersides of leaves, where direct sunlight is scarce and humidity is relatively higher. When checking, gently flip leaves and examine them against the light, paying close attention to where veins meet and leaf edges. Look for tiny moving specks, white powdery substances, brown dots, or web-like structures. Be careful not to mistake water spots or dust on leaf surfaces for pest damage.
Step Two: Check New Growth and Young Leaves
New plant tissue is the most vulnerable area and most susceptible to pest damage. Aphids especially favor young leaves and flower buds, clustering there to feed on sap. Focus your inspection on the gaps in new buds, the front and back of unfurling young leaves, and bud surfaces. If you notice slow growth, deformities, curling, or sticky substances on new leaves, suspect aphids or other sap-feeding pests. Honeydew secreted by some pests can also cause sooty mold, blackening young leaf surfaces.
Step Three: Check Soil Surface and Pot Edges
The soil surface is the egg-laying site and activity pathway for many pests. When inspecting, carefully observe the top soil layer for tiny white insects crawling on the surface, white powdery substances, or small flying insects rising from the pot. Lift the pot and check around drainage holes for pest activity. The junction between the pot rim and soil is also where scale insects and ants often hide—while ants don't directly harm plants, they protect aphids and scales, so frequent ant activity warrants extra vigilance.
Step Four: Check Stems and Main Branches
Stems are the plant's nutrient transport channels, and pest damage here quickly affects the entire plant. Start inspecting from the plant base and carefully examine upward along the stem, paying special attention to stem nodes—many pests favor these areas. Gently touch stem surfaces with your fingers; if you feel bumps, depressions, or sticky substances, suspect scale insects. Soft, discolored, sunken, or gumming stem surfaces often indicate internal boring or stem disease and require immediate action.
Response Principles When Problems Are Found
When you discover suspicious signs during inspection, the primary principle is immediate isolation. Move the suspicious plant to a location some distance from other plants to prevent pest spread. Don't rush to spray pesticides—first try physical removal methods: wiping visible pests with alcohol cotton swabs, rinsing leaf undersides with strong water pressure, manually removing scale insects, and so on. Many early pest issues can be controlled this way. If physical methods prove ineffective, select appropriate pesticides based on the specific pest type, dilute according to instructions, and avoid causing phytotoxicity from overly concentrated solutions.
Common Mistakes to Avoid
A common beginner mistake is preventive pesticide spraying, believing regular applications prevent pests. In reality, this wastes money and effort while easily creating pesticide resistance and disrupting beneficial microorganisms on plant surfaces. Another frequent error is only checking plants that appear to have problems, neglecting healthy plants. Pests often target weaker individuals first, but sometimes suddenly outbreak on originally healthy plants. Developing the habit of inspecting each plant individually is the only way to truly achieve prevention.
The Importance of Documentation and Continuous Observation
It's recommended to keep simple records during each inspection, noting which plants are normal, which show suspicious signs, what treatment measures were taken, and which plants need key rechecking next time. Continuous documentation helps you understand common problem patterns in your home plants—whether certain varieties are particularly pest-prone or whether pest activity increases in certain seasons. This accumulated experience makes your pest prevention increasingly precise and efficient, truly achieving the goal of maintaining plant health at minimal cost.