
Overview
When water beads up on soil surface or drains straight through instead of being absorbed, your plants are experiencing chronic drought stress.
This article provides detailed guidance on identifying hydrophobic potting mix, understanding its causes, and implementing solutions ranging from simple fixes to complete repotting to rescue your struggling houseplants.
Understanding Hydrophobic Soil: Key Symptoms to Observe
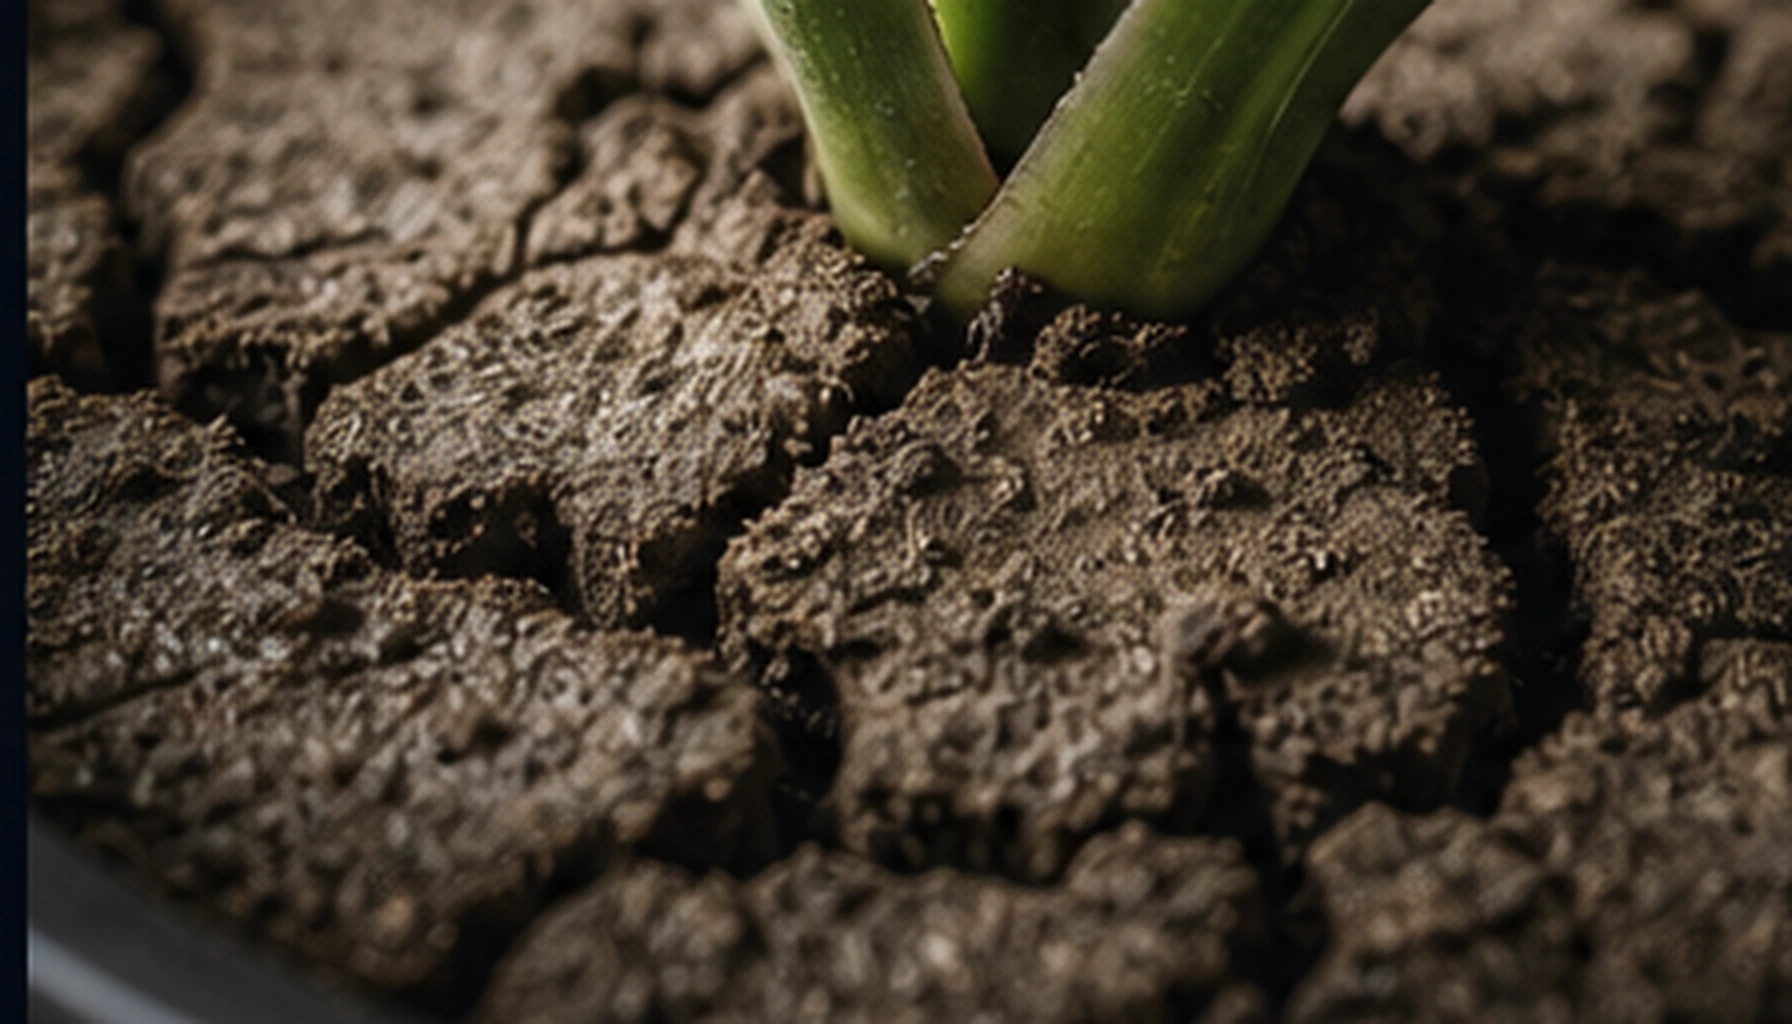
Hydrophobic soil is a condition where potting mix loses its ability to absorb water properly. When you water, the liquid beads up and rolls off the surface or drains straight through the drainage holes without being absorbed. In this situation, the soil might look moist on the surface, but the roots are actually experiencing drought stress—like trying to give water to someone wearing a waterproof jacket.
Critical symptoms to watch for include: water running straight through to the drainage holes, water forming beads or a film on the soil surface, soil pulling away from the pot edges, plants showing wilting or yellowing despite regular watering, and a hollow sound when tapping the pot. Plants in this condition will display growth stagnation, small new leaves, dull foliage color, premature dropping of lower leaves, and in severe cases, root die-off.
Main Causes of Soil Hydrophobicity
Understanding why soil becomes hydrophobic is essential for prevention and treatment. The primary causes include:
Excessive decomposition of organic matter is the most common cause. As peat, coco coir, bark, and other organic components in potting mix break down through microbial action, they produce waxy and oily substances. These materials coat soil particles with a hydrophobic film that prevents water penetration. Peat and similar materials undergo a transformation from hydrophilic to hydrophobic when fully dried, which is a frequent problem in home gardening.
Salt accumulation from over-fertilization is another significant factor. Long-term heavy use of chemical fertilizers or watering with hard water causes soluble salt crystals to accumulate on the soil surface, altering surface tension and making it hydrophobic. Salt crystals also damage soil structure and compress air pores, further worsening the problem.
Soil compaction and root binding also contribute to water absorption difficulties. When plants are left unrepotted for extended periods, roots fill the entire pot. Root secretions and dead root matter change the soil chemistry. Additionally, soil compaction from frequent watering and irregular wet-dry cycles accelerate soil structure degradation.
First Step: Bottom Watering Rehydration Method
When you discover hydrophobic soil, first try the gentle bottom watering method to rehydrate it. Here's the step-by-step process:
Prepare a bucket of room temperature or slightly warm water (approximately 20-25°C). Avoid hot water to prevent root damage. Submerge the entire pot in water, with the water level about 2-3 cm above the soil surface. Maintain immersion for 20-40 minutes while observing the water surface. If you see many bubbles rising from the soil surface, air is being released and the soil is rehydrating. If no bubbles appear, gently press the soil surface to help release trapped air.
After soaking, remove the pot from water and let excess moisture drain through the holes. Place the pot on an absorbent pad or towel to help speed drainage. For the first few waterings after treatment, continue using the bottom watering method to ensure the soil fully recovers its water-absorbing ability before returning to normal watering.
Advanced Technique: Surfactant Assistance Method
If simple soaking doesn't solve the problem, consider using surfactants to reduce water's surface tension, helping moisture penetrate the hydrophobic layer. This is an emergency measure and should not be used frequently long-term.
Commercial soil wetting agents are specifically designed for this purpose—use them according to package directions. If you don't have a specialized product, add 2-3 drops of unscented liquid dish soap to 1 liter of clean water and stir well before slowly pouring into the potting mix. The surfactant reduces water's surface tension, allowing it to be absorbed more easily by the soil.
Important usage notes: Test on a small area first to confirm it won't harm the plant before applying broadly. After using surfactant, water again with plain water to help the chemical move downward through the soil profile. Don't use this method more than 2-3 consecutive times to prevent chemical buildup in the pot.
Complete Solution: Repotting with Fresh Mix
When the above methods fail, or when the soil has been in use for over two years with obvious compaction and salt buildup, repotting with fresh mix is the most thorough solution. Here is the detailed process:
Pre-repotting preparation: Stop watering 2-3 days before repotting to allow the soil to dry slightly, making the plant easier to remove and reducing root stress. Choose a clear or dry day for the procedure to allow roots to dry afterward. Prepare fresh, well-draining potting mix, a sterilized pot (1-2 sizes larger or the same size as the original), and disinfected pruning scissors.
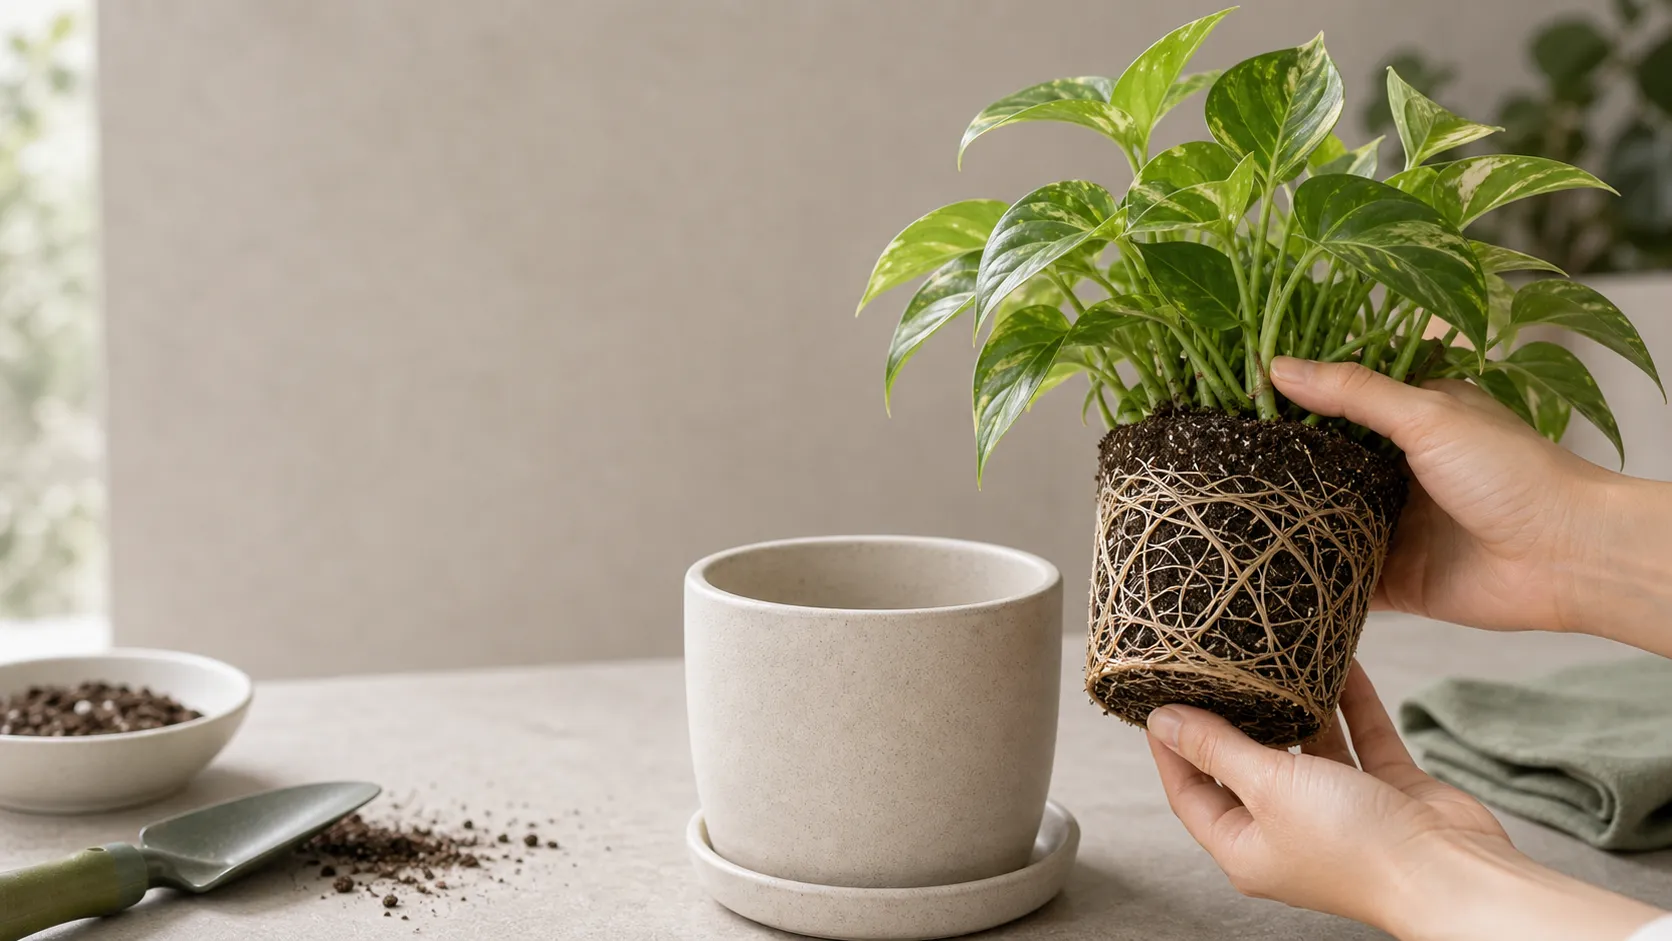
Removing the plant and inspecting roots: Gently tap the sides and bottom of the pot to help separate the soil from the pot walls. Remove the plant along with its root ball and inspect the roots. Healthy roots should be white or light tan with firm texture. Brown, black, or mushy roots indicate rot and should be pruned.
Soil removal and root treatment: Gently shake or crumble off the outer layer of old soil, avoiding forceful pulling that could damage main roots. If the root ball is severely bound, soak the entire ball in water for a few minutes to soften old soil for easier removal. After inspecting roots, use sterilized scissors to remove all rotted and dead roots. Wound surfaces can be dusted with cinnamon powder as a natural disinfectant.
Preparing fresh mix and repotting: Choose a high-quality potting mix with good drainage and aeration. Add at least 20% perlite, coarse sand, or bark chips to improve structure. Place some fresh mix in the new pot's base, position the plant, and adjust so the root crown (where stems meet roots) sits about 2-3 cm below the pot rim. Fill around the sides with fresh mix, firming gently without over-compacting, leaving space for watering.
Post-repotting care: Place the newly repotted plant in bright indirect light, avoiding direct sun. Water thoroughly for the first time, then keep the soil slightly moist but not waterlogged for the next 2-4 weeks to help roots recover. Avoid fertilizing until the plant shows clear signs of recovery (approximately 4-6 weeks later).
Critical Mistakes to Avoid
When treating hydrophobic soil, several common errors must be carefully avoided:
Never use pressure water flow to force watering. This doesn't truly solve internal water distribution problems and may further compact soil and damage root surfaces. The practice of poking holes in soil with pointed tools is equally discouraged—while it may temporarily allow water to penetrate downward, it damages soil structure and accelerates compaction.
Don't immediately return to normal watering and fertilizing schedules after repotting. Roots recovering from stress need time to regenerate, and excess moisture and nutrients can cause burden, leading to root rot. Additionally, placing repotted plants in direct sun immediately is a mistake—transpiration will worsen dehydration. Instead, place them in a gentle environment for recovery.
Prevention and Long-Term Soil Maintenance
Preventing soil hydrophobicity is more important than remediation. Here are effective long-term maintenance strategies:
Using quality, well-draining potting mix is fundamental. Avoid pure peat or overly fine mixes, as these materials become extremely difficult to rehydrate once dried. Purchase reputable brand indoor plant soil or when mixing your own, add at least 20% perlite, coarse sand, or coco chunks to improve drainage.
Master proper watering frequency and technique. Follow the "soak and dry" principle—water when the top 2-3 cm of soil is dry. When watering, use a slow, multiple-pass technique allowing time for moisture to penetrate. Avoid persistent "half-watering" which causes the extreme situation of perpetually dry deep roots while the surface stays waterlogged.
Regular repotting is essential for soil health maintenance. Most indoor plants should be repotted every 1-2 years to inspect roots and replace old mix. Fast-growing large plants may need annual repotting.
Monitoring Results and Follow-Up Assessment
After treatment, closely observe the plant's recovery to determine if the treatment was successful. Here are the indicators:
Signs of success include: water being absorbed by soil within 5-10 seconds after watering (instead of beading or running off immediately), the plant showing signs of recovery within 24-48 hours, leaf color gradually returning to vibrant green, new buds or leaves beginning to grow, and no visible gaps between soil and pot edges.
If there is no improvement after several weeks, or if the plant's condition continues deteriorating, a second repotting may be necessary to inspect roots, or other issues may be present (such as severe root rot, pest infestation, over-fertilization). In such cases, completely remove old soil, use fresh mix for replanting, and sterilize all tools thoroughly.