
Overview
A Practical Guide to Setting Up an Effective Plant Isolation System at Home
New plant purchases may harbor invisible pests or diseases, making quarantine the first line of defense for your indoor garden. This article guides you through a simple, practical isolation process, teaching you to recognize warning signs, avoid common pitfalls, and protect your entire plant collection without adding unnecessary stress.
Why Quarantine Matters
When you bring home a new plant with excitement, you may not realize it has already picked up uninvited guests. Pest eggs and larvae are nearly invisible to the naked eye, while fungal spores hide deep in the soil. One oversight can lead to infection across your entire collection, and treatment costs often far outweigh the effort of prevention. Quarantine is not wasting time or space—it's the most cost-effective way to ensure peace of mind.
What to Observe
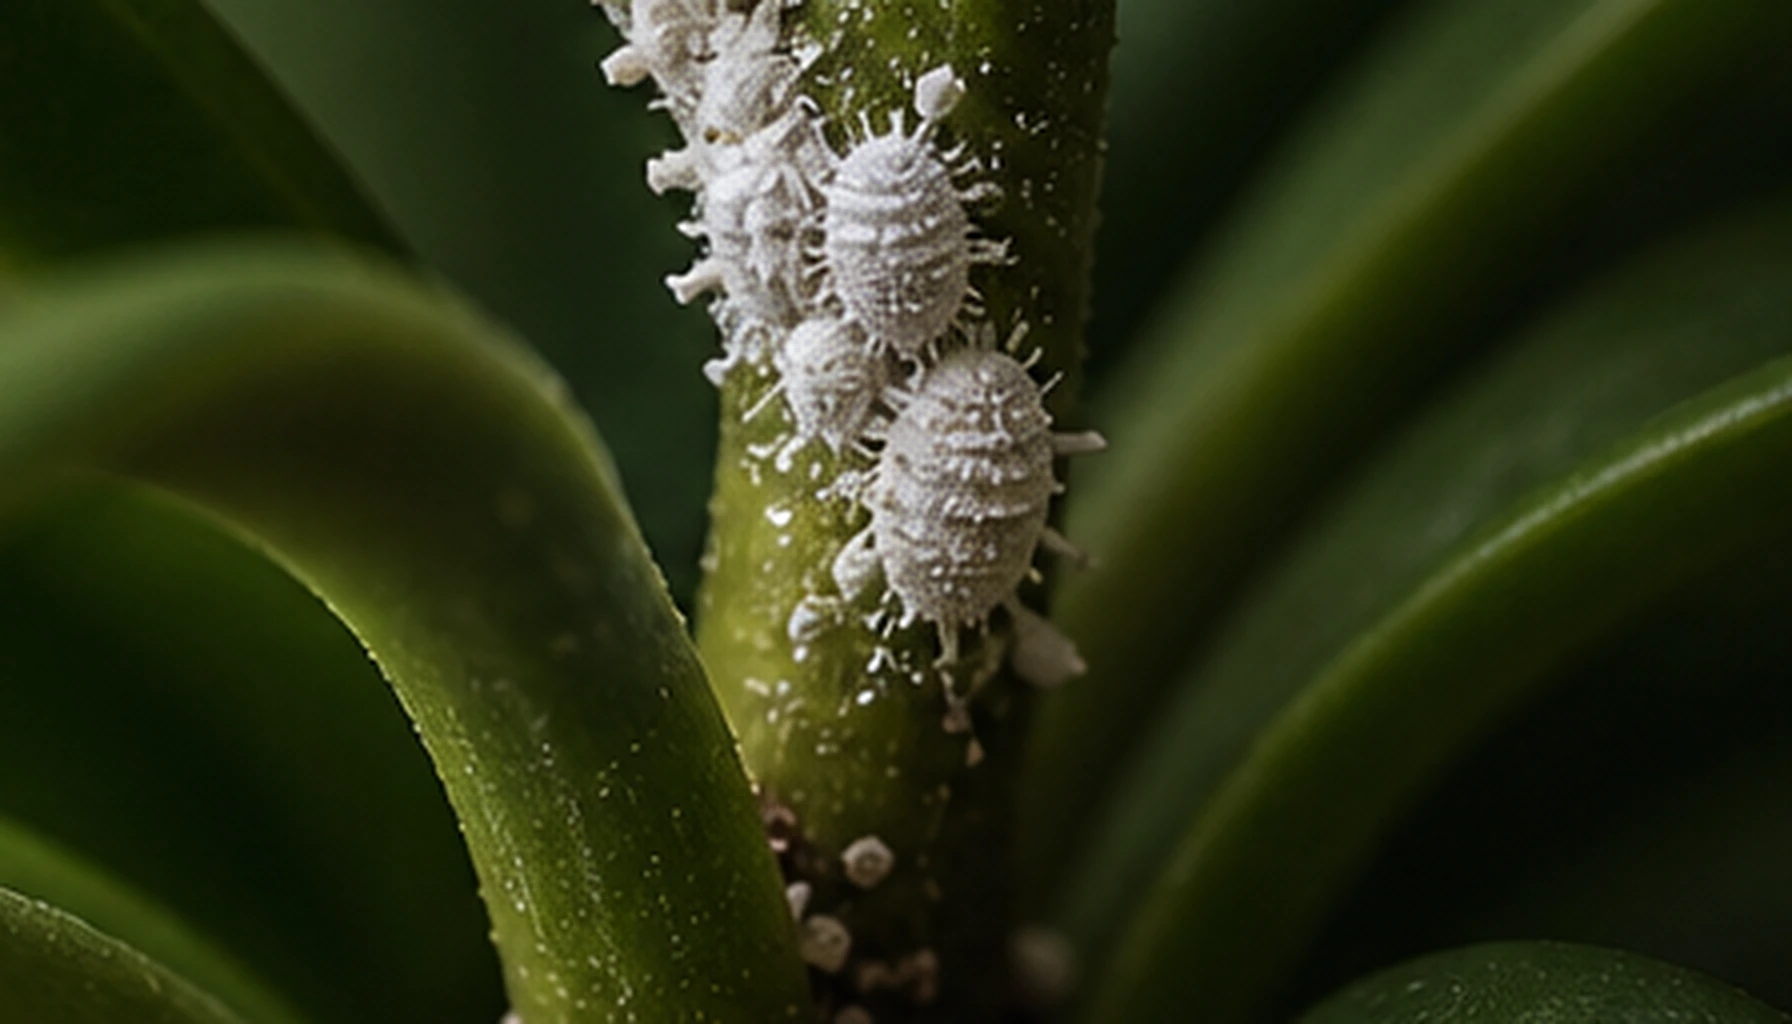
During the isolation period, focus your attention on several key areas: both sides of leaves, stem joints, soil surface, and drainage holes. Common warning signs include irregular yellow spots or discoloration on leaves, leaf curling or deformation, stunted new growth, brown spots on stems, and small insects or white threads visible on the soil surface. Daylight hours provide the best inspection conditions, and a magnifying glass can help when needed.
First Steps to Take
When your new plant arrives home, do not water or fertilize immediately. Keep it in its original pot with existing soil and place it in the isolation area. The ideal location should be well-ventilated but away from other plants, with at least one meter of distance. The first three days after placement are the critical observation period, as most hidden pests become active due to environmental changes, making detection easier. Avoid any repotting or major movement during the first week to minimize stress.
What Not to Do
A common beginner mistake is rushing to replace soil or rinse roots, which actually damages the root system and opens the door for pathogens. Another misconception is ending quarantine early when the plant looks healthy—pests may still be in the egg stage and not yet showing symptoms. Some people also touch plants directly during inspection, inadvertently transferring pests or eggs to their hands and spreading them elsewhere. Finally, avoid applying preventive pesticides during quarantine—over-intervention weakens the plant's natural resistance.
Changes to Watch For
If you observe the following during isolation, immediately extend the quarantine period and consider treatment: new chew marks or web-like patterns on leaves, stems wilting despite moist soil, powdery or cotton-like substances on leaf undersides, or rapid emergence of fungus gnats around the soil. Mild yellowing or temporary growth stagnation during the adaptation period is normal and should not cause undue concern.
When to End Quarantine
The standard quarantine period is two to four weeks, depending on season and environmental conditions. During warm spring and summer months when pests reproduce quickly, observe for at least three weeks. In winter's cooler temperatures, two weeks serves as a reasonable baseline. You may end quarantine when these conditions are met: no abnormal symptoms for two consecutive weeks, the plant shows clear signs of recovery and growth, and no pest activity has been detected nearby. Before removing the plant, give the leaves a gentle rinse with clean water for a final inspection. Once confirmed safe, move the plant to its permanent location and clean the isolation spot with soapy water.