
Overview
How to Quickly Identify Thrips Damage and Take Appropriate Isolation Measures
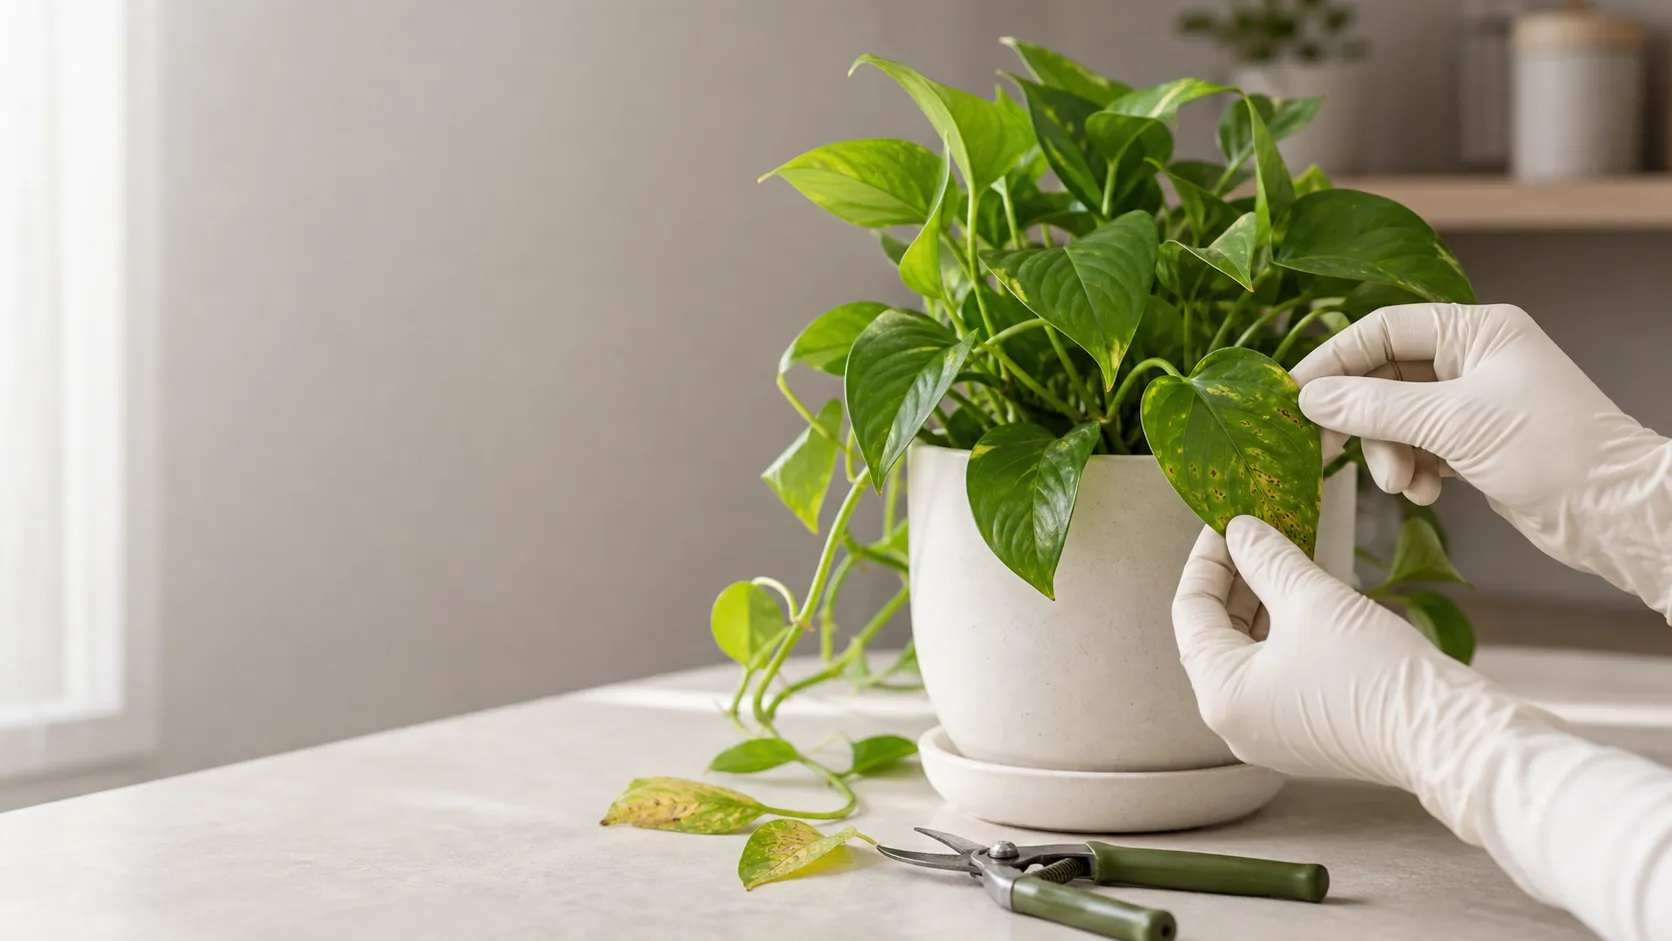
When caring for indoor plants, silvery or bronzed marks on leaves often leave growers puzzled—whether these are characteristic thrips feeding scars or simply mechanical damage from handling and friction. Accurately distinguishing between the two is crucial for timely intervention and preventing spread. Thrips feeding scars typically appear as regular silvery patches with a distinctive sheen, often following leaf veins, accompanied by dark excrement dots. Mechanical damage shows irregular edges, random positioning, and lacks consistent patterns. This article systematically explains how to identify both types of damage, the decision framework for isolation timing, immediate actions upon discovery, and common mistakes to avoid, helping growers make correct decisions at the earliest stage of infestation.
Understanding Typical Thrips Damage Characteristics
Thrips are tiny piercing-sucking insects, typically only 1-2 millimeters in length, with winged adults that are poor fliers and primarily spread through wind or on plant material. In indoor environments, thrips prefer to congregate on leaf undersides, inside flowers, and around new growth, using their mouthparts to pierce plant cell walls and extract sap. Cells that have been fed upon rapidly dehydrate and collapse, creating characteristic silver or bronzed patches—the most visible indicator of thrips damage.
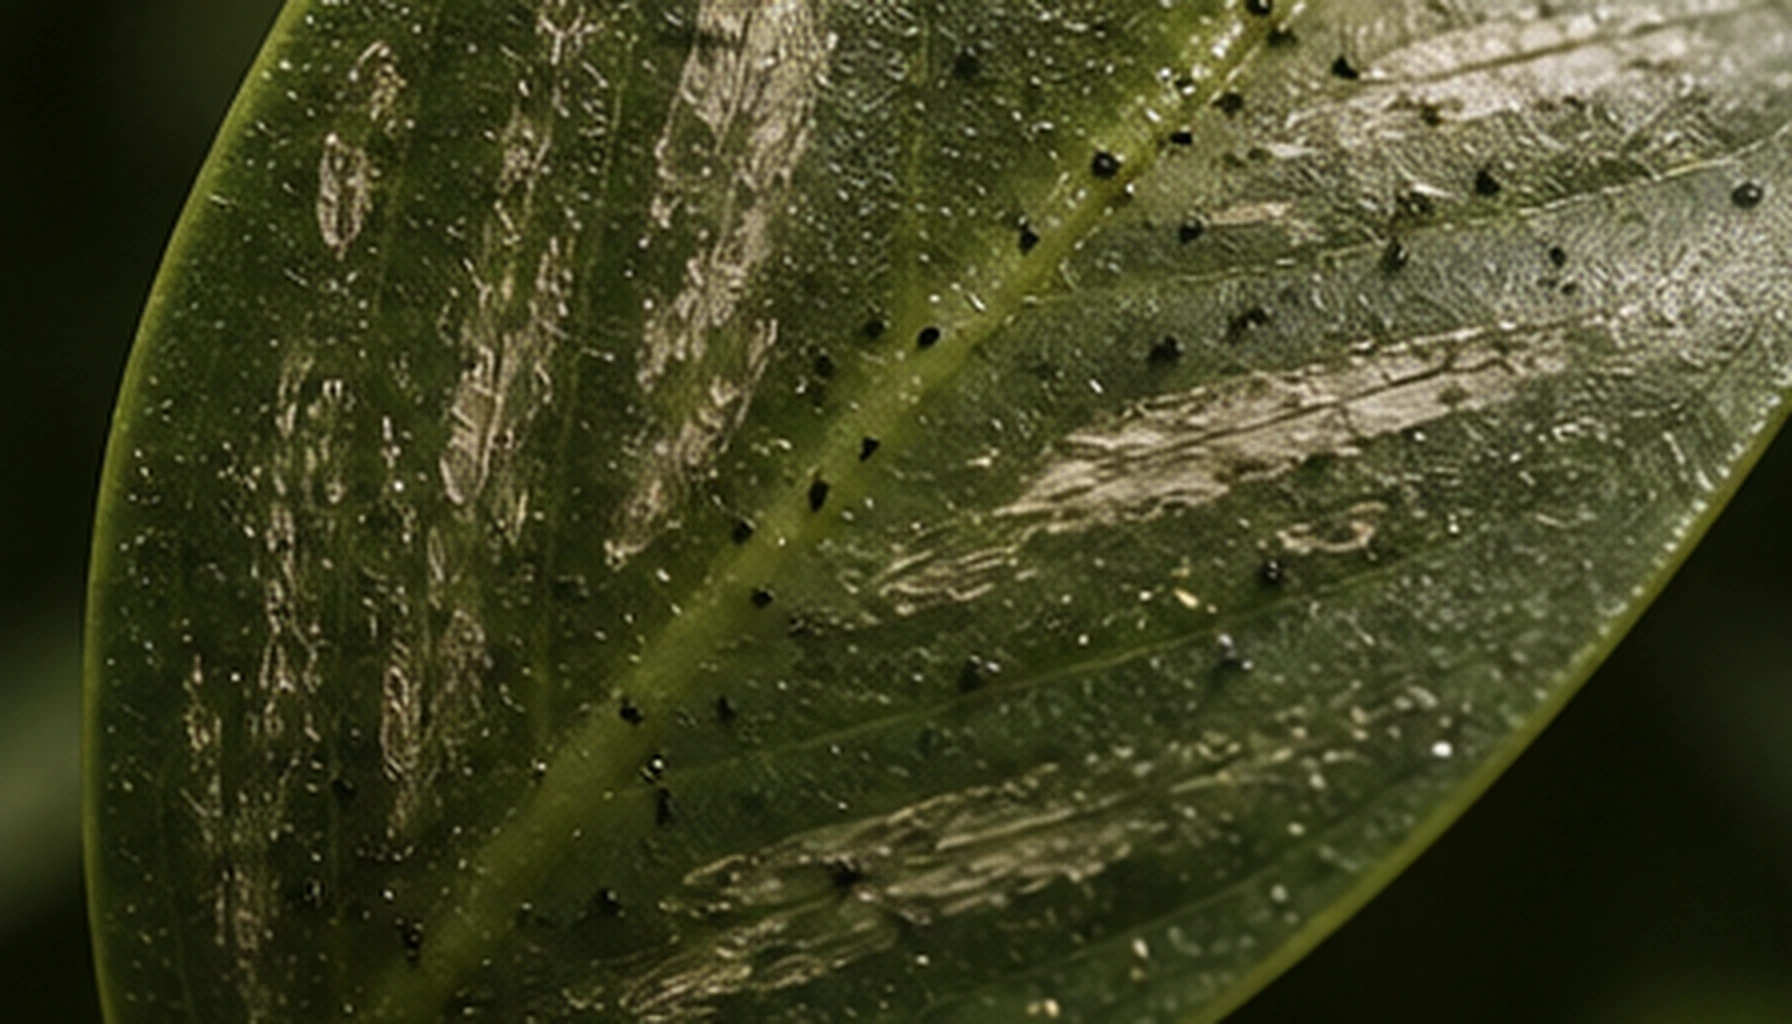
Typical thrips feeding scars exhibit these features: patches with relatively clear but irregular edges; a surface showing uniform silver-gray or light bronze sheen, similar to light reflecting off scraped metal; particularly noticeable when viewed at an angle under strong light; scars often follow vein patterns or concentrate at junctions between veins and leaf tissue; nearby leaf surfaces may contain tiny black excrement dots from the insects' digestion, which are more visible under magnification.
Identifying Mechanical Damage
Mechanical damage refers to injuries caused by physical contact, including leaf friction against hard surfaces, crushing during movement, pet chewing, or accidental bruising during harvesting. Unlike thrips feeding scars, mechanical damage typically has more irregular edges, showing tearing or crushing patterns rather than clean feeding marks.
Typical mechanical damage includes: uneven wound edges with possible tissue tearing outward; color changes that blend naturally with surrounding tissue rather than showing a distinct silver-gray sheen layer; wound locations corresponding to areas the plant has been touched, such as near pot edges, sides of frequently moved containers, or areas near pet activity paths; no excrement dots present—key detail for distinguishing between the two types.
Practical Methods for Quick Differentiation
In practical care situations, use these methods for quick identification: First, use a flashlight or lamp at a 45-degree angle to illuminate leaf surfaces, observing whether patches show silver-gray metallic luster. Thrips feeding scars reflect distinct silver light at an angle, while mechanical damage lacks this optical property. Second, examine both the interior and surroundings of patches with a 10x handheld magnifier. If small black dots (thrips excrement) are visible, thrips damage is essentially confirmed. Third, observe scar distribution patterns—thrips feeding scars commonly follow vein lines or concentrate on new leaves and flower buds, while mechanical damage location depends entirely on the specific physical contact.
For uncertain cases, place yellow sticky traps near the suspicious plant and check after 24-48 hours. Thrips are attracted to yellow and will be caught; if many thrips appear on the trap, the patches are likely from their feeding.
Decision Framework for Isolation Timing
After discovering suspected thrips damage, whether isolation is needed immediately and the urgency depends on these factors:
Synthesizing these factors, follow this timeline: Upon finding definite thrips excrement or numerous typical feeding scars, isolate immediately; when a single leaf shows slight scarring and confirmation isn't immediate, complete isolation within 24 hours while continuing observation; mechanical damage doesn't require isolation but improved handling practices to prevent recurrence.
- Damage Extent Assessment: If only 1-2 leaves show minimal scarring, damage is still in early stages and isolation within 24 hours is sufficient; if multiple leaves show obvious scarring or new growth tips show distortion, the population is substantial and immediate isolation is required.
- Surrounding Plant Status: If home has few plant varieties placed far apart, transmission risk is relatively low; if many plants are nearby at close distances, prioritize immediate isolation to prevent spread.
- Plant Species Sensitivity: Some plants like spider plants, snake plants, and monsteras have lower attraction to thrips, while flowering plants, orchids, and Philodendron species are more attractive—prioritize protecting these.
Immediate Actions Upon Discovery
Once thrips damage is confirmed or highly suspected, take action in this order: First, immediately move the plant to an area far from other plants, preferably a separate room or enclosed balcony. If not possible, move it at least 1 meter from other plants with a physical barrier in between. Second, wipe the exterior of the pot and saucer with alcohol wipes or cotton swabs dampened with alcohol to eliminate possible attached eggs or nymphs. Third, inspect all leaves on both sides, especially near leaf veins, new growth bases, and inside flower buds, using magnification to confirm pest presence. Fourth, decide on a treatment plan based on damage severity: minor damage may first try physical removal (wiping leaves with damp cloth) plus biological control (predatory mite release); moderate to severe damage requires targeted pesticides.
Common Mistakes to Avoid
Common errors during thrips management include: mistaking thrips scarring for sunburn and ignoring control measures, failing to isolate other plants after finding infestation on a single plant, returning the plant to its original location immediately after treatment causing thrips to spread to surroundings, treating only leaf surfaces while ignoring soil and pot edge sources, and frequently moving plants during treatment increasing transmission opportunities.
Additionally, blindly using broad-spectrum insecticides is not only ineffective but may harm beneficial insects and promote thrips resistance. Choose products specifically targeting piercing-sucking pests and prepare solutions strictly according to label instructions.
Follow-up Observation and Effect Evaluation
After isolation and treatment, continuous observation for at least two weeks is necessary. Monitor whether new leaves still show feeding scars—this is the key indicator of treatment effectiveness. After releasing predatory mites, typically 3-4 weeks are needed to establish stable populations; avoid using any pesticides during this period. If new leaves continue showing scars, the original population is still active and the treatment plan needs reassessment. Only after observing no new scars for a continuous month with no thrips captured on sticky traps should you consider returning the plant to its original location, while maintaining appropriate distance and conducting regular inspections.