
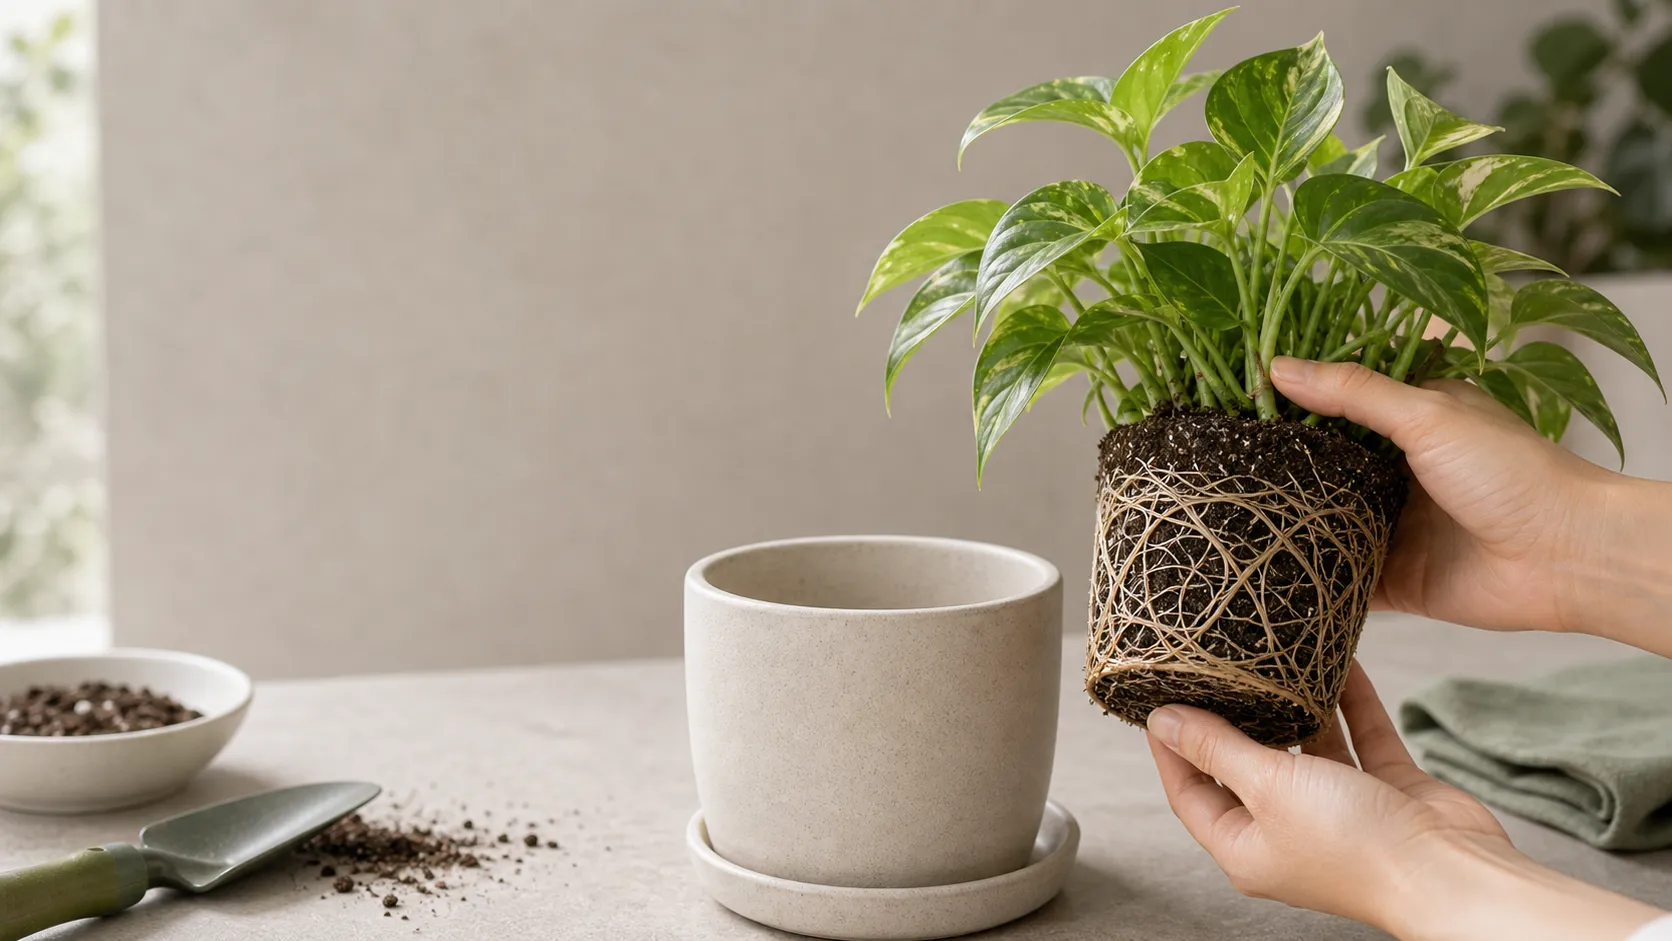
Overview
From Compacted to Hydrophobic: A Practical Guide to Evaluating Your Old Potting Mix
Before deciding to repot, many plant parents overlook evaluating the condition of their existing soil. The truth is, old soil isn't always garbage, nor is it always fine. The key lies in determining whether the soil remains breathable, moisture-retentive, and structurally intact—or has become compacted, hydrophobic, or chronically waterlogged. This article teaches you a systematic approach to assess nursery soil across four dimensions, helping you distinguish between soil that just needs amendment versus soil that must be replaced entirely.
Why Reading the Soil Comes First
Repotting is a major intervention in plant care, yet many people dive in without carefully checking the condition of their existing soil. Some rush to replace everything, while others dump all the old soil into the new pot unchanged—both approaches miss the mark. In reality, the state of your old soil directly affects how quickly the plant acclimates and its subsequent growth. By "reading" the soil beforehand, you can make the right call: whether to amend it, partially replace it, or start completely fresh.
Four Dimensions to Evaluate Soil Viability
1. Aeration and Compaction Level
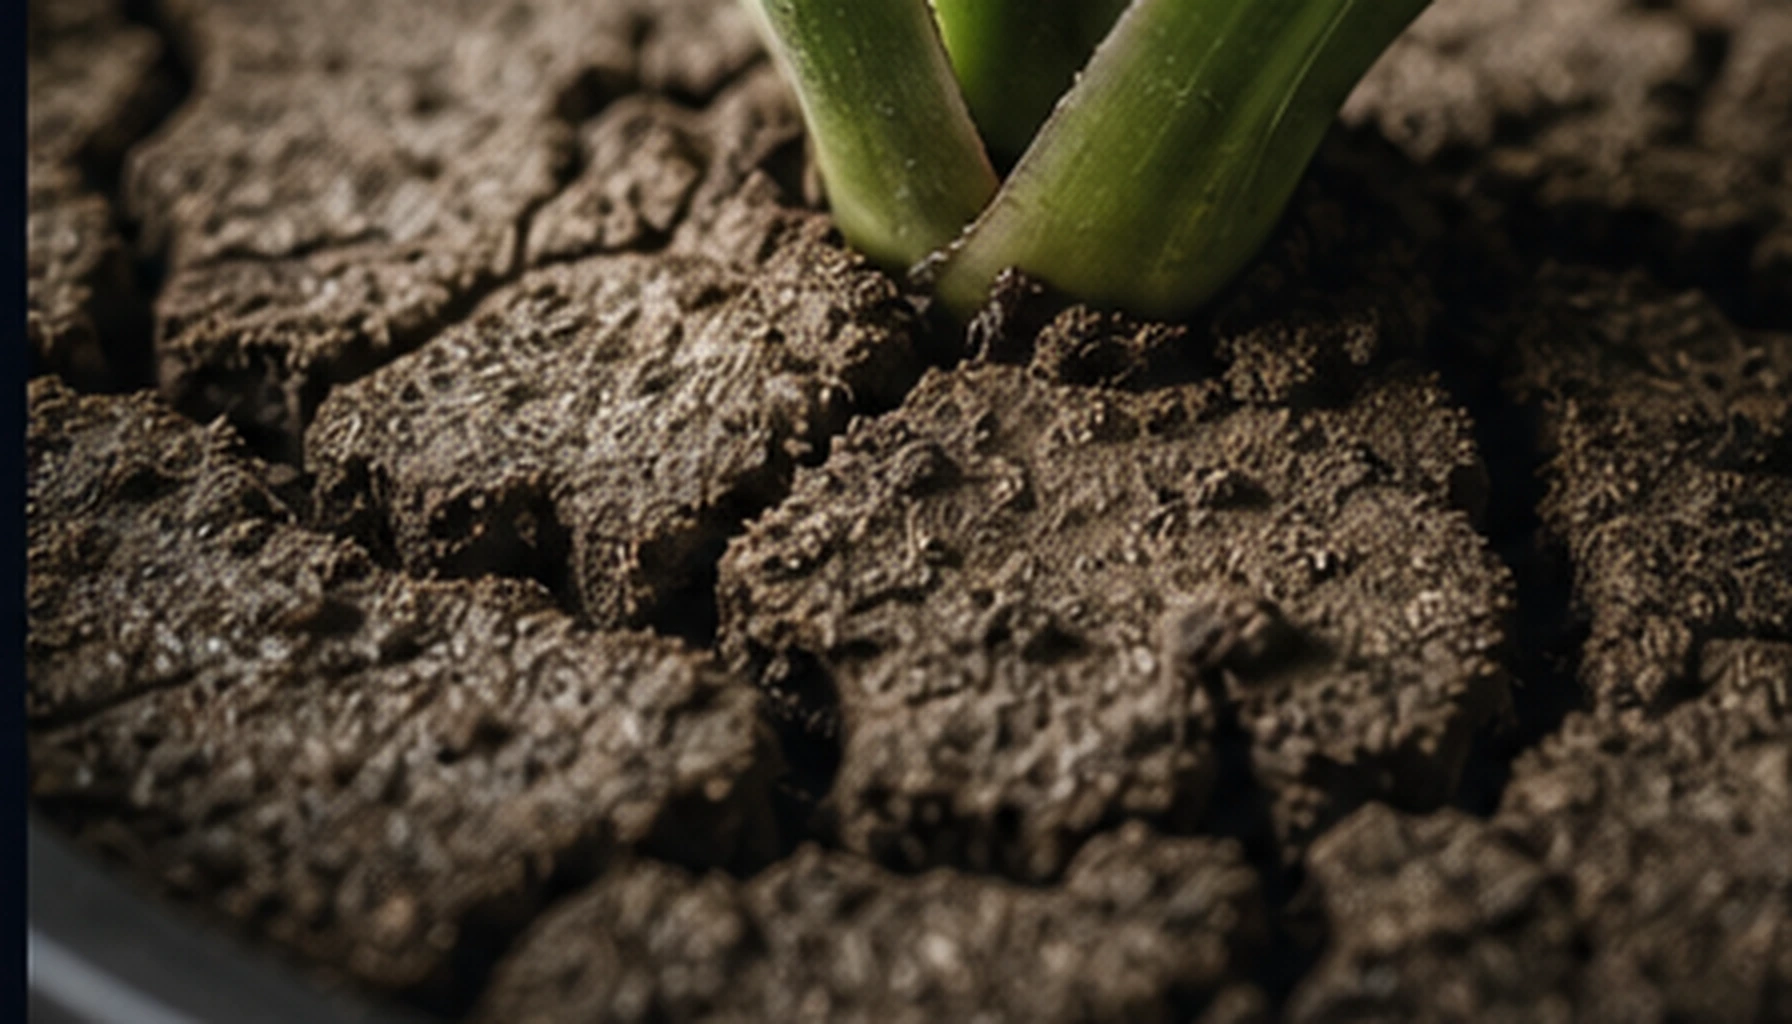
Compaction is the most common issue. Examine the soil surface and the gap between soil and pot walls. If you see the soil pulling away from the container edges, creating visible cracks, or water failing to penetrate when watered, the soil structure has collapsed. In mild cases, the surface becomes hard, turns dark, and you feel resistance when probing. In severe cases, roots may show constriction marks. The test is simple: water thoroughly, wait ten minutes, then try to insert a finger or small trowel—if it stops before three centimeters with significant resistance, compaction is likely.
2. Hydrophobicity Test
Some soils look loose but repel water entirely, with moisture running straight down the pot walls instead of soaking into the root zone. To test this, water normally and observe: does water rush out the drainage holes immediately, or bead up on the surface without penetrating? Either behavior indicates the waxy layer on soil particles or organic matter has decomposed, destroying water affinity. Even without compaction, hydrophobic soil is unsuitable because roots will experience chronic drought stress.
3. Moisture Content and Drainage
Before repotting, check the soil's drying rhythm. How many days does it take to dry out after thorough watering? Does the surface stay wet for extended periods during humid weather? Ideal reusable soil follows a "dry-then-soak" cycle—once dry, water penetrates quickly and thoroughly. If soil stays wet and sticky for three to five days after watering, or the surface develops white crust or moss, water retention is excessive and drainage is poor. This often coincides with root oxygen deprivation and rot risk.
4. Organic Matter and Degradation Signals
Healthy soil has a dark brown or black color with a slight peat or humus scent. Soil turning gray, yellow, or developing a musty, fermented sour smell indicates organic matter has largely decomposed or is rotting. Grab a handful and squeeze: quality soil forms a light ball that crumbles when touched. Degraded soil either falls apart like dry sand or forms a tight ball that won't break apart.
First Observation Step: Water, Then Wait
The correct evaluation begins one to two days before repotting with normal watering, then letting the soil dry naturally. During this process, observe how quickly water penetrates and how the dry-wet cycle progresses. Repotting when soil is too dry or too wet skews your assessment. The optimal timing is when the top two centimeters feel slightly dry but the lower layers remain moist—this condition most accurately reflects true soil structure.
When to Replace Without Hesitation
When soil exhibits any of these conditions, do not attempt preservation or amendment: roots emerging from drainage holes and circling the root ball, white crust and salt deposits persisting on the surface, water beading on the surface for more than ten minutes after watering, or obvious musty or rotting organic smell. These are irreversible signals; continued use risks root damage.
When Amendment Is Acceptable
If soil structure remains loose but compaction is mild or organic matter slightly depleted, partial replacement works: remove the top three to five centimeters of aged soil, add one-third fresh mix plus perlite or coarse sand, blend, and refill. Hydrophobicity improves with peat moss or coco coir; excessive moisture retention corrects with more grit materials.
What Changes to Watch After Repotting
The one to two weeks following repotting is the critical observation period. Watch leaf behavior: mild wilting is normal transplant stress, but the plant should recover within three to five days. Persistent wilting or leaf edges turning yellow-brown indicates possible root damage or excessive soil environment change. Also observe water penetration: does the new soil match the old soil's drying rhythm, or has a "sandwich layer" formed—new soil drying fast while old soil stays wet, creating waterlogging around roots?